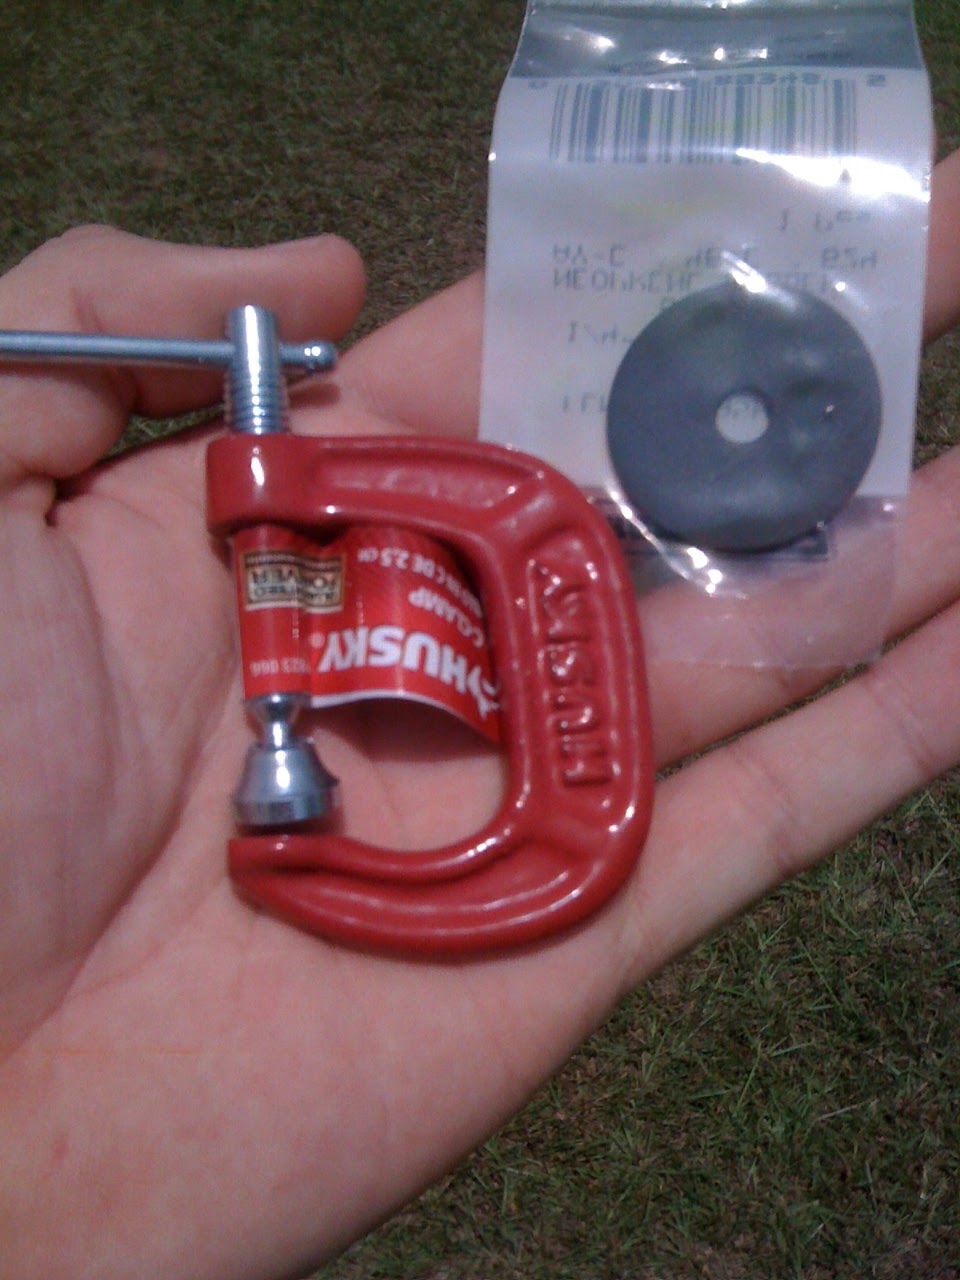
I started this repair job off the right way, at Home Depot! What redneck can’t fix their car with building supplies bought from the home depot? I knew to fix the window properly I’d need two small C-Clamps and four rubber washers.

One side down, now to the left side track. This side proved to be a bit more difficult due to there being no space for my hand or clamp at the bottom of the window. Again tapping my inner redneck I decide this is nothing that a scrap piece of trim and a coping saw couldn’t fix.

So I cut two pieces of the trim, one to be the stop for the window, and the other make a wedge to keep the stop in the track and in position. Next I took my handy C-Clamp and clamped the trim in place.

Now for the fun of putting the door back together. Because I’m left with this hot mess.

First I need to put the moisture barrier back in place.

With that done I bring the door panel back and take a look at it.

I snap the door pannel back in place after returning the hanging door handle to his home.

Then I need to hook the wires back to my electric door controls.

And snap them back into place.

Next the speaker needs to be put back into his hole, making sure I have clearance around one of my C-clamps. (Something I probably should have done before this step)

Lucky for me there was clearance, Clarance. I Returned all the trim, and the job is complete.

So, there you go, if you have an F-150 that has the window break like this and don’t want to spend the money to get it properly fixed and you don’t like the look of ducktape on your car, follow these instructions and you’ll be good to go. Other than the gallons of sweat I lost, the R rated words that were dropped and the skin and blood left inside my door it’s a pretty simple process. Just don’t forget to put a sticker on the door that says “winder don’t work”.


So, if my hubby's window on his 150 dies, I can bring it there, drink lots of beer, and watch you fix it????
ReplyDeleteNow let me say, "JOB WELL DONE!"